WYSIWYG
WYSIWYG Basics | WYSIWYG Links | WYSIWYG Images | WYSIWYG Embed
WYSIWYG Basics
What you see is what you get.
-
Click Pages (or other engine that uses the WYSIWYG online text-editor) in navigation bar of administrative site.

- Click Edit Page on the corresponding site page to edit content.
- Locate relevant copy to include within your page’s body. Most people edit copy in Microsoft Word, which is a great application for word processing. Sometimes, however, word processing applications add invisible formatting to text that needs to be stripped before your copy can be copy-pasted into the WYSIWYG editor. The next two steps describe the process for stripping invisible formatting.
-
Copy the text from Word or other word processing application and paste the copy into a text-editor like Apple TextEdit or Windows WordPad. Be sure to format the copy as “Plain Text."
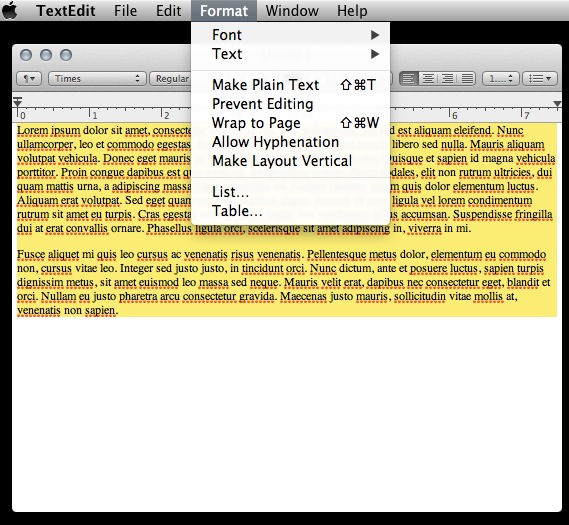
- Cut the copy from the text-editor and paste it into the WYSIWYG editor.
- Properly formatted text includes a hard return after each paragraph. Unformatted text usually contains line breaks instead of hard returns. Insert hard returns by deleting previous soft-returns and hitting the enter key.
-
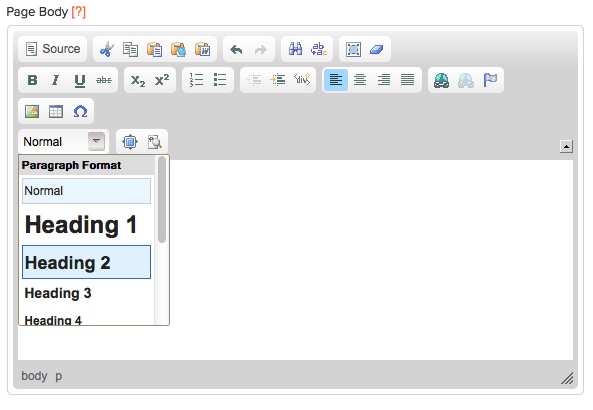
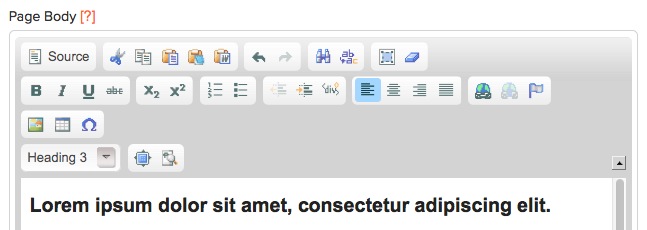
To correctly format content use the Format dropdown. Select Paragraph Format bar to format blocks of text. You can also choose a heading style to create consistent subheadings throughout your site.
- Create lists by selecting copy and then selecting the bullet or number icon.
- Increase or decrease indent by highlighting block of copy and selecting the associated edit icon.
- Bold, italicize, or create a strikethrough by selecting the associated edit icon.
-
Left, center, or right justify by selecting the associated edit icon.
-
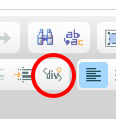
To create a horizontal line to separate blocks of text, click the “div” button to create a div container for the line
-
Type "hr" into the Stylesheet Classes text box to create horizontal rule.

- Click OK to submit change.
- Click Publish to view changes on the live site.
- Select Save Draft to save the copy before publishing.
WYSIWYG Links
- Highlight a line of text within in the WYSIWYG to create a link.
-
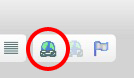
Select the link icon, which looks like a globe with a chain link over it
-
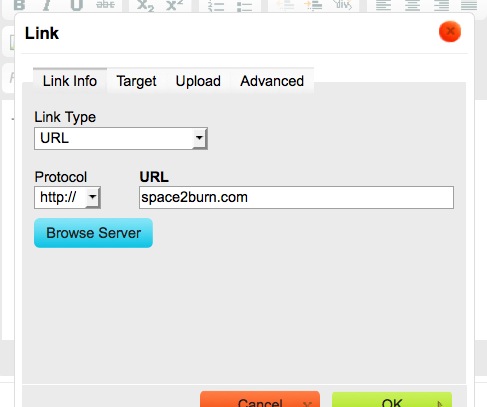
Insert URL address for standard external URL link.
-
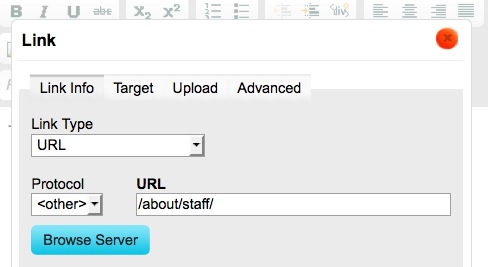
Internal links within your site are a little different. They start with the slash that follows your domain extension. For example, If you want to link to a page in your site with the URL http://mydomain.com/about/staff/ you only need to add “/about/staff/” to the URL field in the pop up.
- Click OK to create link using highlighted line of text.
-
To create a link to media files, highlight line of text you would like to link.
Select link icon.
Hit the Upload tab.
Browse computer for file.
After media file is selected, click Send it to the Server.
Double-click media file, and click OK to submit changes. - Click Publish to view changes on the live site or click Save Draft to save the copy before publishing.
WYSIWYG Images
-
Place cursor in WYSIWYG editor where you wish to display image.
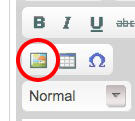
Select the image icon.
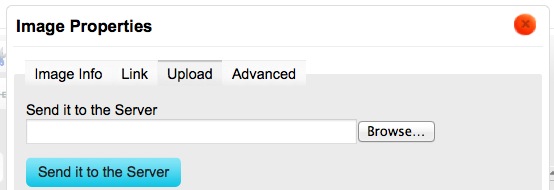
- To upload an image to the server, click on the tab in Image Properties marked Upload.
- Browse computer for image.
-
After image is selected, click Send it to the Server.
-
If an image already exists on the server, simply click the Browse Server button and find the image you’d like to include on the page.
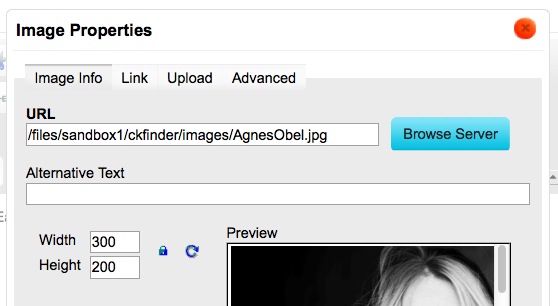
- Edit the alignment of image by clicking on the Advanced tab in Image Properties.
-
Type "img-right" in the Stylesheet Classes text box to float image to the right.
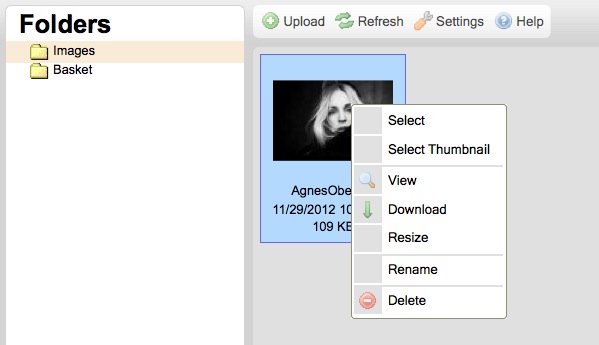
"img-left" is used for a left float. - To edit the size of an image on the server click Browse Server.
-
Right-click the image and select the Resize option.
-
Resize image to desired measurement and click OK.
Double-click image to select newly sized image for use in site page. - Click Publish to view changes on the live site or select Save Draft to save the copy before publishing.
WYSIWYG Embed
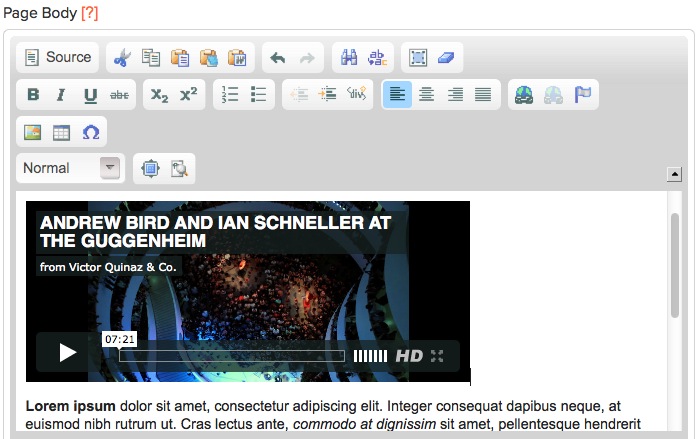
Embed content from other websites into your ignitr based site through the WYSIWYG editor using embed code; some applications provide this snippet of code allowing you to take components from their sites and plug them into yours. The most common uses are for maps, video, or other shared widgets. The examples shown below are from Vimeo and Google Maps.
-
Locate content at the site from which it originates.
Look for HTML to embed in your website.
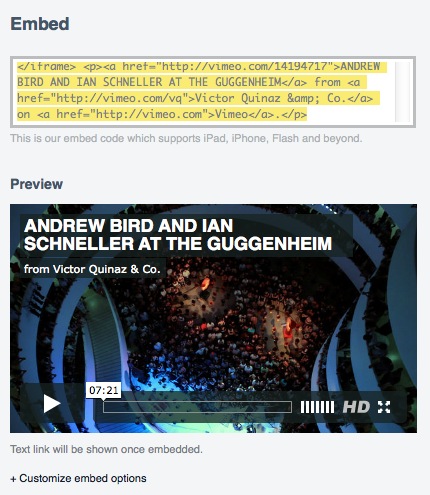

Select code and copy it. -
Click on Source in ignitr WYSIWYG to view the page's source code.
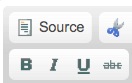
-
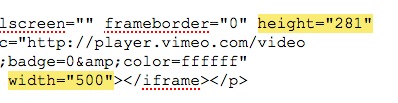
Located the position on your page to paste the embed code into the source code.

Edit the height and width of your embedded object directly in the source code to fill the width of the column in which you intend it to appear.
- Click Publish to view changes on the live site or select Save Draft to save the copy before publishing.
-
Your media should now be visible within the WYSIWYG editor .