Products
Adding a New Product Category | Editing an Existing Category | Adding Products | Editing an Existing Product | Product Brands | Product Attributes and Options | Promo Codes
Adding a New Product Category
-
Click the Products tab in the navigation bar of administrative site.

Depending on your site’s configuration, some products may already be listed, but we can start by creating a new category. -
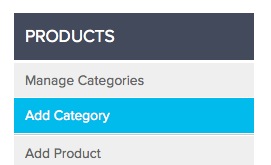
Click the sidebar tab labeled Add Category to create a new category for products.
- Label the category via the Category Title textbox.
- Create a custom URL or leave blank to auto-create a URL from your category title.
- Add a category description if necessary in the Description/Body textbox.
-
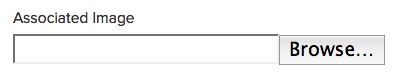
Add an image to your category by clicking on the Associated Image field. Click the Browse button to find an appropriate .jpg image.
-
Activate your category and click Add Category to publish it to the live site.
After publishing a category, you might want to add a subcategory. - Click the sidebar tab labeled Manage Categories to create a new subcategory for products.
-
Click Add Subcategory on the category you have just created.
- Repeat steps 3 through 7 to publish your subcategory.

Editing an Existing Category
- Select Manage Categories from the sidebar.
-
Click Edit next to the category or subcategory you’d like to edit.

- To remove a category or subcategory from the live site but save it for future use, select Inactive at the bottom of the page.
- Click Update Category or Update Subcategory when you’ve finished editing.
Adding Products
-
Click the Products tab in the navigation bar of administrative site.
.jpeg)
- Click the sidebar tab labeled Add Product to create a new product within a preexisting category.
-
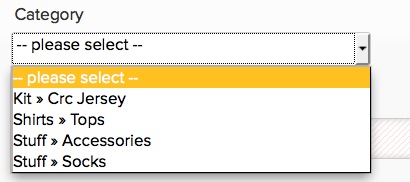
Under “General Information” select relevant category in automatic dropdown.
- Name the product via the Product Title textbox.
-
Include the product’s item number and price in the next textboxes.
Include MSRP and shop cost via additional textboxes if necessary. -
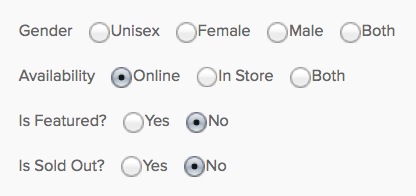
Select the gender specification of your product and its availability.
-
Under “Description” insert the product description via the WYSIWYG text-editor. Find information about using the WYSIWYG here.
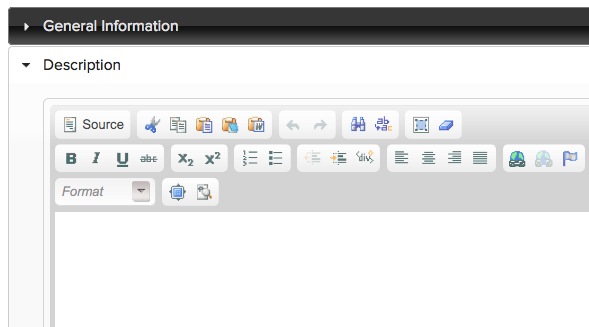
- Under “Features” insert product features via the WYSIWYG text-editor.
-
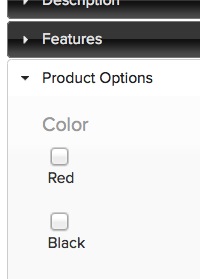
Select product options such as size, gender, style, color and brand.
-
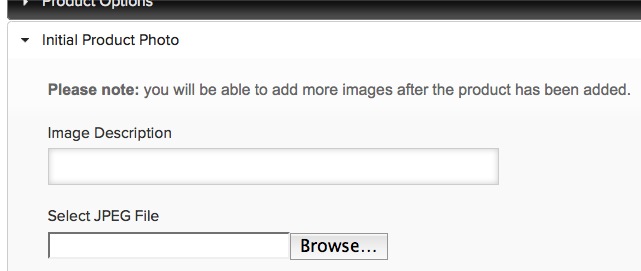
Include an initial product photovia the final dropdown.
Insert image description in the associated textbox.
Select the .jpg file by clicking Browse.
- Activate your product and click Add Product to publish it to the live site.
- After your product is created, you can add many more images. Edit the product and click the photo area to add additional images.
Editing an Existing Product
- Click Edit next to the product you wish to edit.
-
To remove a product from the live site but save it for future use, select Inactive at the bottom of the page.
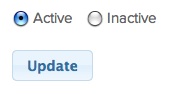
- Click Update when you're done editing the product.
Product Brands
-
Click Products in the navigation bar of the administrative site.
-
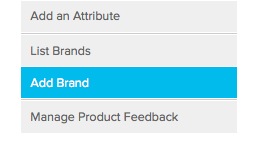
Click the sidebar tab labeled Add Brand to create a new product brand.
- Name the product via the Title/Brand textbox.
- Create a custom URL or leave blank to auto-create a URL from your category title.
- Insert a .jpg brand image by selecting Logo Image.
-
Link this brand to an external site via Link URL textbox.
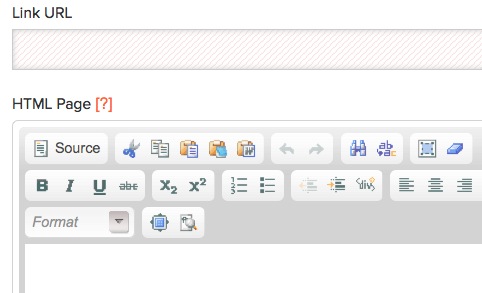
- The WYSIWYG text-editor titled HTML Page is a place to display text describing the brand.
- Activate your brand and click Add Brand to publish it to the live site.
Product Attributes and Options
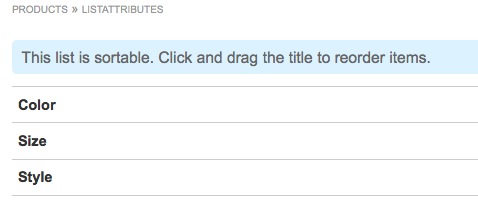
- Click the sidebar tab labeled Manage Attributes + Options in the administrative navigation of “Products.”
-
Add or edit product options by selecting Add Option or Edit.
- To remove an attribute permanently, select the Delete button.
- Add an attribute for organizing products by selecting the sidebar tab labeled Add an Attribute.
Promo Codes
-
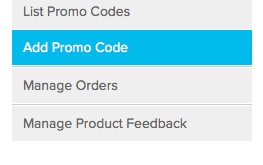
Click the sidebar tab labeled Add Promo Code in the administrative navigation of “Products.”
- Designate the promo code via the Promo Code textbox.
- Provide a description for the promotion via the Description textbox.
-
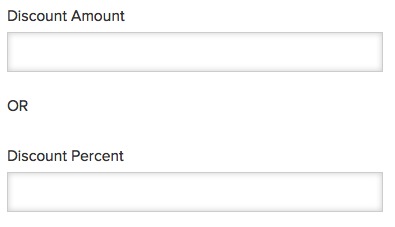
Define the discount amount or percent in the next textboxes.
-
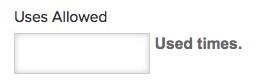
Designate the number of times this promo code may be used per customer via the Uses Allowed textbox.
-
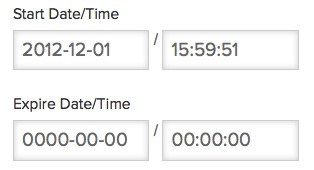
Choose a start date/time as well as the expiration date/time in the interactive textboxes.
- Click Add Promo Code to finish creating your promotion.