Flares
Adding a New Flare | Editing an Existing Flare
Adding a New Flare
-
Click the Flares tab in the navigation bar of administrative site.

-
You will see a list of Flare categories used within your site.

-
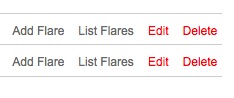
To create a new flare post, click Add Flare.
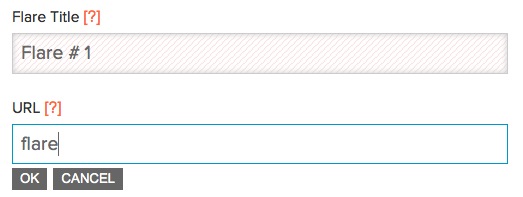
- Give the flare post a title via the Flare Title textbox.
-
Edit URL string to appear in your browser’s address bar by click below the URL heading.
- Insert a subtitle if necessary via the Subtitle textbox.
-
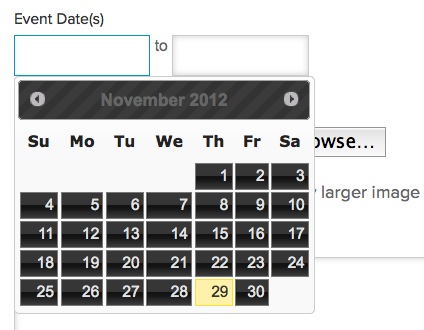
If your flare is an event, select the dates via the Event Dates textboxes.
-
Insert a .jpg image into the post by clicking the Browse button next to the Post Image textbox.
Browse computer for image.
Select one display option below the Browse button.

- Include an abstract to appear in the Flare list as a short preface to the post.
-
Add text and make formatting changes via the WYSIWYG editor.
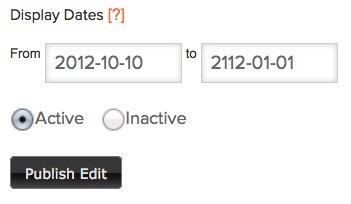
Explanation of WYSIWYG functions available in other walkthroughs. Find them here. - Schedule your post for the future or for removal by designating the display dates.
-
Activate your post and click Add Flare to publish it to your live site.
-
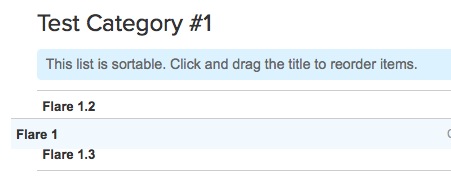
To reorder Flares after published, click List Flares in a category.
Click and drag the Flare title to reorder.
Editing an Existing Flare
-
Click List Flares to show the Flares you can edit in a category.

-
Click Edit next to the Flare you'd like to edit.

-
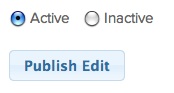
Flare posts can be removed from the live site but saved for future use by clicking Edit Flare and selecting Inactive on bottom of Flare page.
-
Once you have finished editing your Flare, click Publish Edit.