Blog
Adding a New Blog Post | Editing an Existing Blog Post
Adding a New Blog Post
-
Click Blog in navigation bar of the administrative site.

-
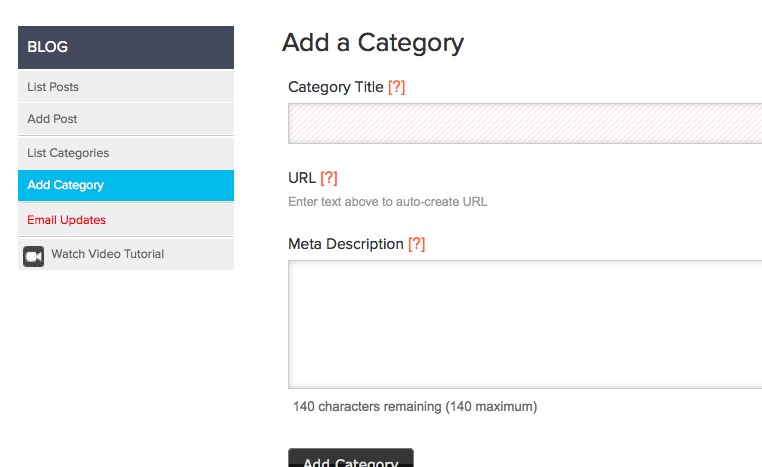
Before you can add your first blog post you must create a blog category. We usually recommend limiting the number of blog categories to help your readers find content that interests them. If you already have a category set up, skip to step 4.
-
Select List Categories in sidebar to reorder or edit existing categories.
Blog lists are sortable; click and drag the category title to reorder.

-
To add a new blog post select Add Post in sidebar.
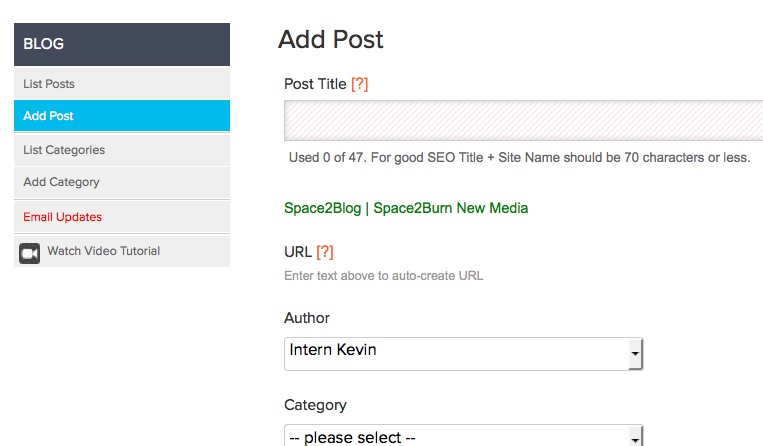
- Type post title.
- Choose a blog category by selecting from the dropdowns.
- Insert meta descriptions and tags (AKA keywords in your blog post) when necessary.
-
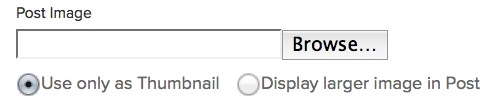
Insert (.jpg) image in post by clicking the Post Image textbox.
Browse computer for .jpg image and select.
Select one posting option below the Browse button.
-
Add text and make formatting changes via the WYSIWYG editor.
Explanation of WYSIWYG functions available in other walkthroughs find them here. -
Click Publish to view changes on the live site.
Select Save Draft to save the copy before publishing.
Editing an Existing Blog Post
- Select List Posts in the sidebar.
-
Click Edit on the blog entry you’d like to edit.

-
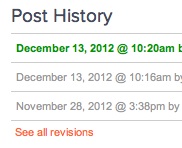
You can revert to previous edits of a post by selecting a revision under Post History on the right side of the page.
- Once you have finished editing, click Publish to update the published post.