bxSlider
Adding a New Slide | Slide Speed | Editing an Existing Slide
Adding a New Slide
-
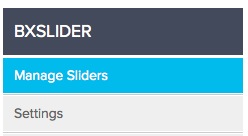
Click bxSlider in the navigation bar of administrative site.

- Your BxSlider is built with preexisting categories.
-
Click Manage Sliders in the sidebar to add your own slides or list previously added slides.
-
Click Add Slide to create your new slide.

- Insert a title and subtitle where necessary in the appropriate textboxes.
-
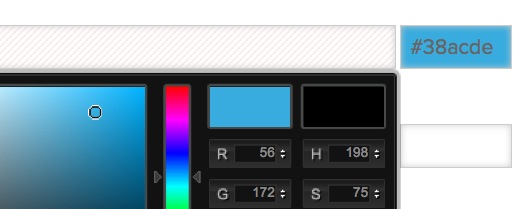
Most sites are created with colors that fit your brand. Leaving the color blank will ensure colors that are true to your brand. If you require a different color, select the font color via the second box (to the right of the title textboxes).
- Write directly into the Body Text to insert slide copy.
-
If you wanted to include a button link, label it properly in the Button Text box and its URL in the subsequent textbox. If your entire slide functions as a button, enter a space in the Button Text field to create the button.
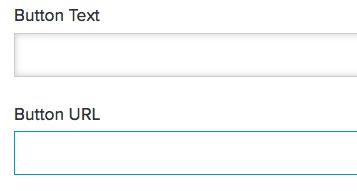
To link to an external URL, enter the URL address in the Button URL textbox. For internal links, start the link with the slash that follows your domain extension. For example, If you want to link to a page in your site with the URL http://mydomain.com/about/staff/ you only need to add “/about/staff/” to the URL field in the pop up. -
Designate the target of your link via the URL Target dropdown.
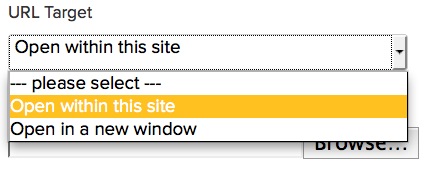
-
Your slide should include a .jpg image. Add one by clicking the Browse button and searching your files for an appropriate post image. Optimum dimensions are customized for each ignitr website. In this example, the optimum size is 280 pixels wide x 280 pixels high. The system will resize images, but for the most predictable results, we recommend resizing images to their optimum size before uploading into the application.

-
Schedule your slide for removal by designating the display dates.
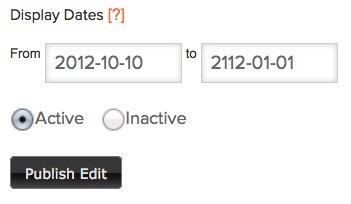
- Activate your slide and click Publish Edit to publish it to your live site.
Slide Speed
-
Select Settings in the sidebar to manage the Slide Pause in milliseconds.
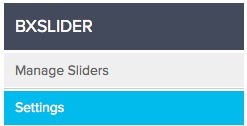
-
Insert a suitable number of milliseconds and select Save Settings.

- Test the slide pause on your live site by reading each slide; if you do not have enough time to read your slide, increase the time.
Editing an Existing Slide
- Click List Slides to edit of delete slides in a given category.
-
Click Edit Slide.

- Select Inactive on the bottom of the page to remove a slide from the live site but save it for future use.
- Click Publish Edit when you have finished editing the slide.